You've cut out a design with your Cricut, Silhouette, or Brother ScanNCut, but when it comes time to glue it on… horror! Bubbles, creases, and misaligned vinyl. 😱
Rest assured, applying vinyl without bubbles is a skill that can be learned. With the right tools and a few simple tips, you'll achieve clean, professional results every time.
1. Prepare the surface before installation
Even high-quality vinyl like Oracal 651 does not adhere well to a dusty or greasy surface.
Clean the area with a soft cloth and isopropyl alcohol (avoid soap which leaves a greasy film).
Wait until the surface is completely dry before starting.
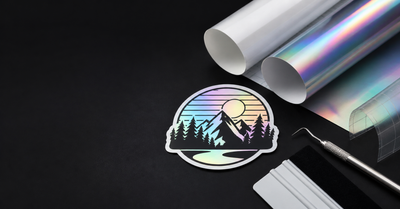
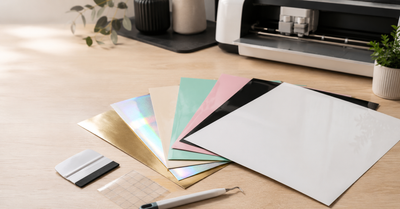
2. Use a suitable transfer film
Transfer film (also called tape) is essential for moving your design from the cut-out material to its final surface.
Choose a film that is compatible with the adhesive on your vinyl (standard for permanent vinyl, stronger for metallic vinyl).
Leni Design offers 30×30 cm formats, perfectly suited to Cricut machines.
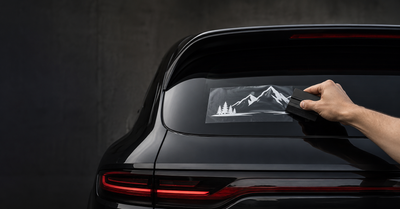
3. Apply with the squeegee
The application squeegee is your best ally against bubbles.
Place the transfer film over the design.
Move the squeegee from the center outwards, pressing firmly.
Repeat the process when transferring the vinyl to its final surface.
👉 Tip: For glossy or metallic vinyl, use a squeegee with a felt pad to avoid scratches.
4. The “hinge” method
For larger designs, use the hinge technique:
Secure your design with masking tape in its center.
Fold one half over, remove the backing paper, then apply with the squeegee.
Repeat the process on the other side.
Result: a well-aligned collage, without creases or bubbles.
5. What should I do if bubbles still appear?
Don't panic:
For small bubbles → gently push them outwards with the squeegee.
For persistent bubbles → pierce them with a fine needle and expel the air.
✅ Conclusion
Applying bubble-free vinyl is within reach of all crafters, provided they follow these simple steps: clean surface, transfer film, suitable squeegee, and a gradual application method . With a quality vinyl like Oracal 651 Made in Germany , your DIY creations will have a crisp, durable, and professional finish.
👉 Discover our Oracal 651 vinyl packs and installation accessories at Leni Design and achieve your projects flawlessly today.